Showing posts with label technique. Show all posts

Tuesday, March 29, 2011

Framed Ribbon Spring Flowers


Finally, my project entry for the MayArts challenge is done~! I am so happy with the final outcome of this project. I am proud to present to you my Framed Ribbon Spring Flowers! Don't you just love how bright and beautiful everything looks in Springtime? I LOVE it! 

 Ribbon manipulation is new to me, but it is a new passion I have developed over the past few weeks. I love how paper and fabric complement each other. 


All ribbons used on this Challenge project were compliments of MayArts. This is my entry for their DT Call Craft Challenge, which had a theme requirement of Spring Flowers. I used the Flat Rose and Spider Web techniques for my roses. I just learned how to do these while working on this project. You can find my Spider Web Fabric Flower Tutorial here.


May Arts Ribbon Used : 

Leaves : SN48
Yellow Rose: HA27
Red Rose: HA14
Pink Rose: HA17
Brown Silk: HA33
Trim: 378-16

For those of you who know me, you probably know by now that I love 3D projects.  That is why I tried to make this in 3D. I cut some butterflies to adorn my Spring Flowers and weaved a basket which I intentionally raised to have that 3D effect.  I leave the top of the basket open so you can add some batting to poof it up or some moss (Sorry,  I don't have any handy). 


This project makes a great home decor this Spring season or a great gift for Mother's Day.  That's why I included a Happy Mother's Day sentiment cut out on the frame. 

This project is very easy. If I can do it being a newbie on ribbon folding, I bet you can to. C'mon give it a try~!

Thanks a lot for stopping by. If you like this post, please consider leaving a comment, SHARE this blog with your friends and colleagues or subscribe to my newsletter. 


Thursday, February 3, 2011

Japanese Valentine Chocolate Box


Happy Heart Month Everyone!

Today, I present to you my Day 5 of the 14 Days of Handmade Valentine Crafts! 


For those of you who have seen my 12 Days of  Christmas Handmade Crafts E-Book, this Japanese Chocolate Box will be familiar to you. Yes, this was included on my 1st release E-book. Just because I named my 1st E-book Christmas, do you think it's over? No, we are just beginning! The templates are very versatile that you can use them on any occasions- like Valentines Day.


I embellished my box with paper flower rosettes which tutorial was linked on my previous post Framed Heart Paper Rosettes. I hand stamped a Happy Heart Day and wrapped around a fabric to keep the box closed. Don't you just love the color combination? I think, it looks great! If you noticed, I dry embossed the metallic pink cardstock using my Cuttlebug machine and Embossing folder from Sizzix. The dry embossed cardstock adds more elegance on the box.


This cute Japanese Valentine Chocolate box is a  great packaging for any Valentine treats. You can use it for chocolates + greeting cards + stationeries + jewelries. The possibilities are endless! The finished box measures 7" x 4¼" x 1-1/8". 

Good news! The Japanese Chocolate Box Tutorial is available for purchase now! There is no need to buy the 12 Days E-Book Package unless you want the 12 projects.

The tutorial is a 3 PDF pages with complete step-by-step photo instructions.The instruction measurements are written in inches. All you need is a cardstock or heavy weight paper, scissors, paper cutter with scoring blade, double sided tape and some embellishments.


Here's another look of the Japanese Chocolate Box I made using the same  Templates and Tutorials. 


So if you like todays post? Please tell us your thoughts on the comment section below, we love to hear from you! 

Monday, January 31, 2011

Faux Alligator Skin Valentine Wristlet


There are so much I want to do for Valentines and because of that, sometimes I am overwhelmed and I end up not able to finish anything. Have you ever experienced having a  "mental block"? I always do, huh! I know I am supposed to be posting everyday for the 14 Days of Handmade Valentine crafts but sometimes I just end up staring at my computer screen and can not decide what to do first.

Any how, For Day 3 of the 14 Days of Handmade Valentine Crafts, I decided to revisit my old post which is the Faux Alligator Skin Wristlet. I know, I wanted to do some packaging  for my Ghirardelli Chocolates and this Wrislet is just perfect.


This is a very fast and easy project and yet it looks so elegant + presentable. The finished project  is great to use as  party gift favors . It is great for bridal shower favors, baby shower favors, Teachers gift or simply use it as a great packaging for your gifts for any theme or any occasions. There's a free tutorial provided on my previous blog on how to make a Faux Alligator Skin Wristlet. Please click here for the free tutorial. 


So if you like todays post? Please tell us your thoughts on the comment section below, we love to hear from you! 

Monday, October 4, 2010

Side-Step Card Tutorial


I just got my new  Cuttlebug.  Here's my first entry to the Cuttlebug Challenge this week. I used the Side-Step Card Technique. The tutorial is provided here. 

The Cuttlebug Challenge requiring to use the following colors; Pink, Green and Red. Of course, you have to incorporate the use of  the Cuttlebug.

My camera is acting up, please bear the poor resolution of the pictures.


Thursday, August 12, 2010

3D Cards - I am back!

It's been awhile since my last post.  My husband and I are visiting family and friends in Canada. We have been living in Latin America for a year and summer is the best time to have a vacation in North America. We were not around during the Winter Olympics, so there are lot's of changes in Vancouver since we left.

At the moment, we are in BC Interior. It is beautiful here, especially during the summer. Apples are starting to ripen. We just missed the Cherry season. I will be posting some pictures soon.

Before we came up to Canada,  I finished some 3D Cards.  These were meant to be entries in the 3D Tuesday Challenge in one of the groups I recently joined. I was not able to submit these cards because we were so busy packing during our last days before our trip.


For this 3D card, I used the Decoupage Paper Napkins technique for the bird as my focal point. I attached printed/designer napkin tissue on a chipboard. I used  Mod Podge as glue and Matte Finish. I framed my decoupage art and I embellished my card with ribbons and some charms. For the sentiment , I used the K and Company sentiment stickers.


For this card, I used Cricut Expression for the leaves.  For the border, I used the Martha Stewart punch .


I embellished this 3D card with Prima Flowers. I used a rubber stamps for the sentiments. Stay tuned for more projects, tutorials and news to come.

Thursday, July 1, 2010

Brayer Technique


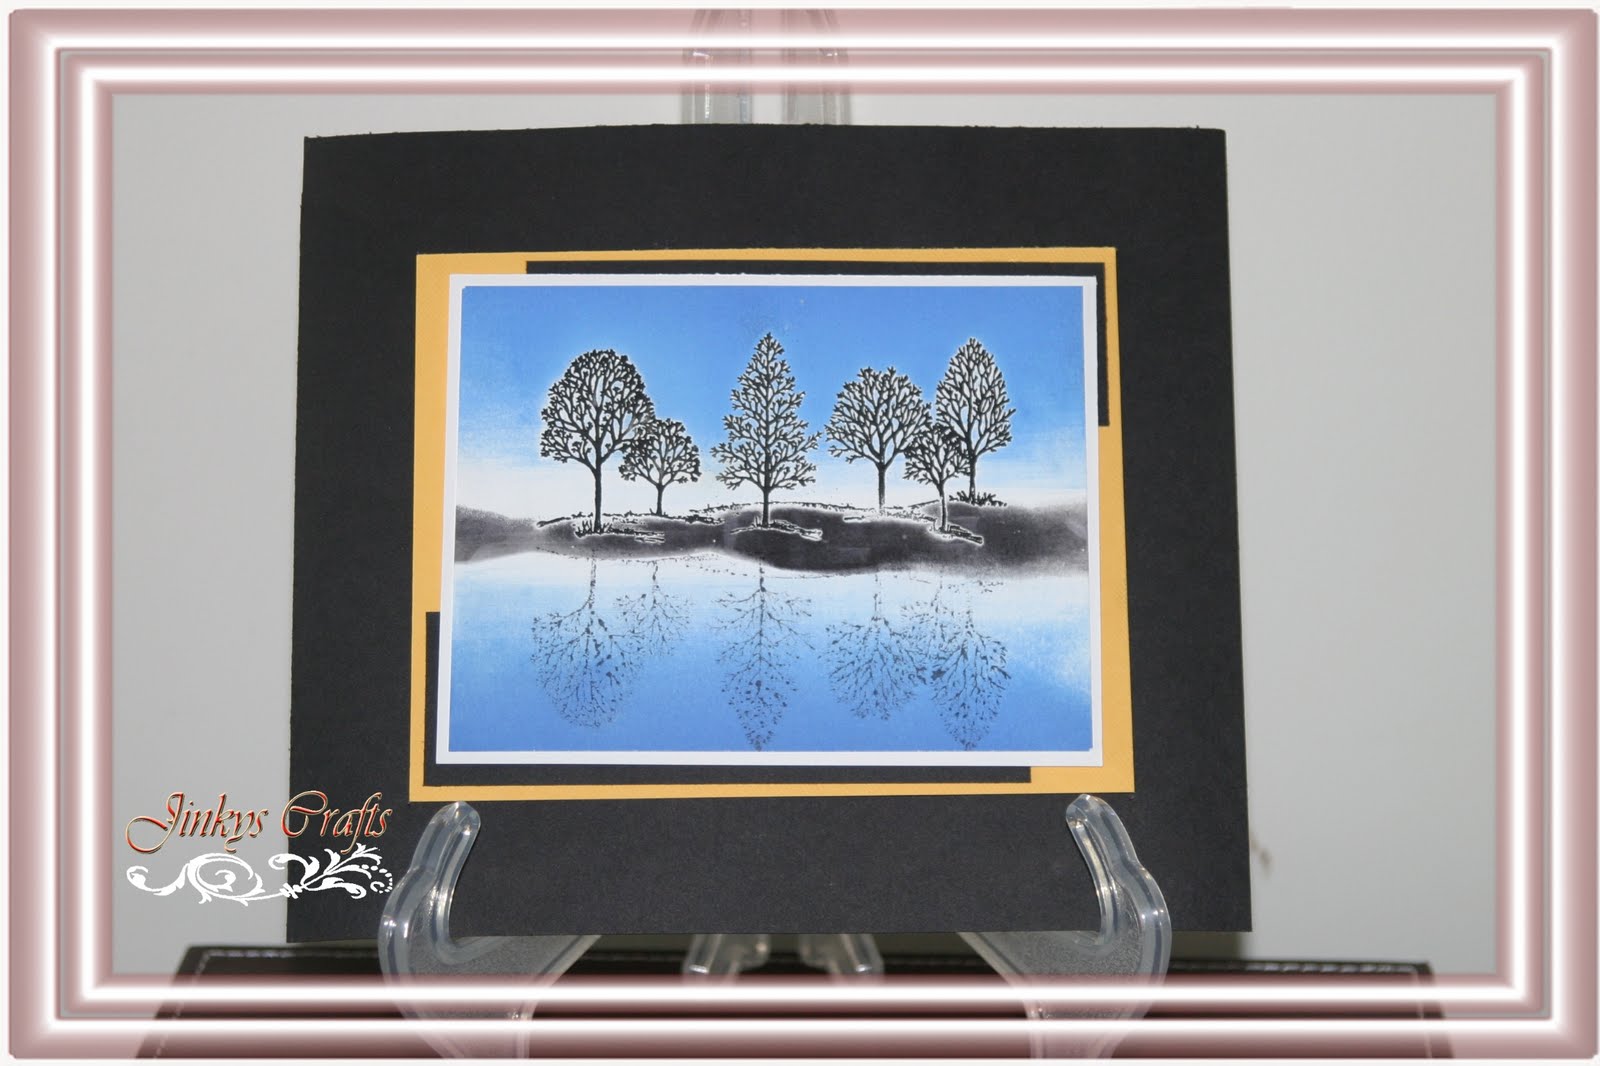
The Brayer Technique is totally out of my comfort zone. I have had the Rubber Roller Brayer for a long time but have not tried using it until now. I finally had the courage to just go for it. So here is my first finished project using the Brayer Technique.  In this project, Reflection/Mirrored Effect Technique was also used.

For those that do not know what a brayer is, a Brayer is a tool that is used in applying ink. It  looks like a miniature paint roller and is very popular in rubber stamping.

It is normally used in creating backgrounds. You can create a solid background if you ink the brayer with one color or create a multicolored background by using more than one color.
                                                                                                                                                          

How To Use A Brayer 


Supplies/Materials:

Rubber Stamps

cardstock

ink pad

rubber brayer

Directions:

Apply ink to your Rubber Roller then roll it on your cardstock or paper in one direction  or roll back in forth, slowly changing the directions to blend the colors. Brayer Technique is great in creating landscapes, you can achieve this my masking off part of the card with torn paper. Color gradations will add more dimension to your project and gives a more realistic effect.

TIPS: Store your brayer rubber side upright in an airtight, plastic storage container.

Happy 4th of July

I cut the 4th of July text using Cricut Expression. I used the Plantin SchoolBook Cartridge. And applied the Brayer Technique in creating the background.


Please leave me a comment below if you like what you see. I want to know what you think.

Related Video

Tuesday, June 1, 2010

Faux Alligator Skin Wristlet Tutorials


These are the cutest purses I have ever made. I had a blast making them. The technique is similar to the Faux Leather Purse I had posted earlier in this blog.This awesome wristlet purse was made with my Cricut machine using  the Accent Essentials Cartridge.I got my Cricut Expression for Christmas and I just absolutely love it.  It is very easy to use and has endless possibilities. If you do not have a Cricut Machine, please email me for the Wristlet template.

   
Faux Alligator Skin Wristlet Tutorials
  • Cut 3 pieces of cardstocks  for the panel of your box (I used Cricut Accent Essential Cartridge , cut at 4" Accent48s)
  • Cut 6" x 5½" of cardstock, score at 2½" at both sides of the longer side. Score 1" of both sides of the shorter side. See template figure below. 
  • Coat pre-cut purse template with Versamark Ink Pad.
  • Cover with clear embossing powder.
  • Using the Bone Folder, run the point through the embossing powder, making  several irregular lines imitating the crocodile skin lines. Just make it random or wavy for more natural looks.
                                                       Wristlet Templates
  • Apply heat to the embossing powder using a heat gun. Make sure entire surface is glossy. Do not burn.
  •  Assemble the box and outside panel. Adhere pieces using sticky strips adhesive tape.
  • Decorate and attached a gross grain ribbon for the handle.
  • If you do not have the tools and still interested to make this project, please email me. I have the complete kit and detailed step by step instructions available for purchase. All you have to do is to assemble the kit and enjoy your cute purse.


Here's some Pop-Up Purse Invitation  and  Exploding Cupcake Gift Box perfect for bachelorette party, bridal shower or any themed party. 

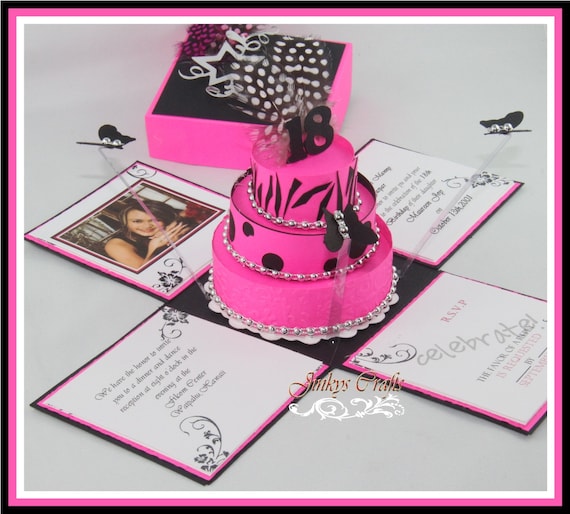
Pop-Up Purse with 3-Tier Cake Bachelorette


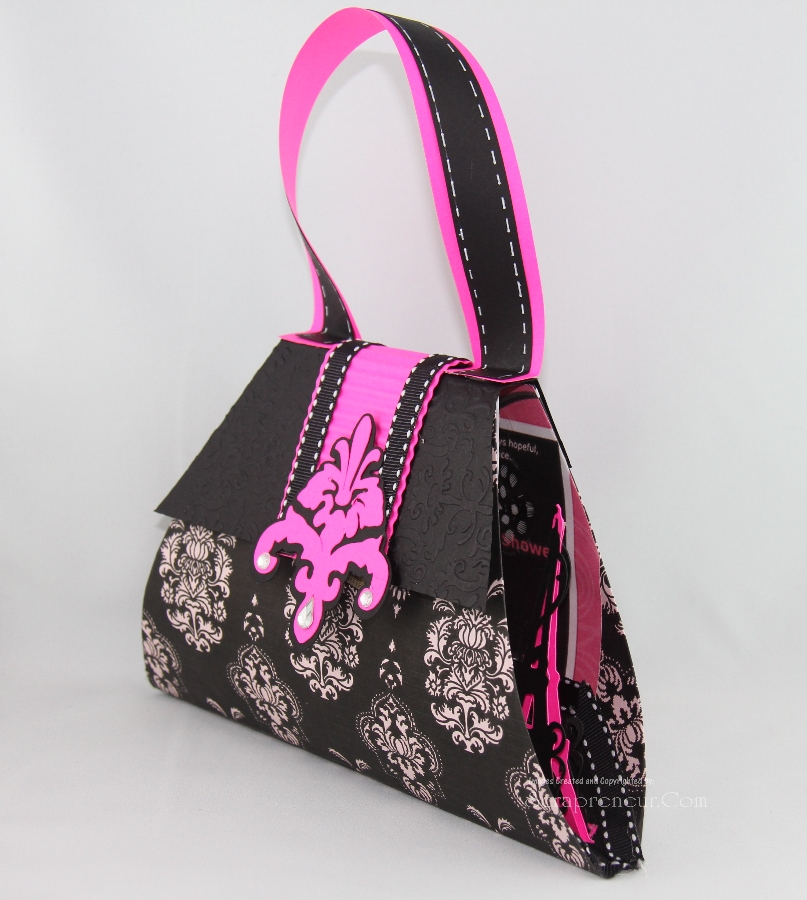
Hot Pink & Black Pop-Up Purse Invitation

Eiffel /Paris Theme Invitation

Exploding Cupcake Gift Box