Thursday, July 22, 2010

DIY Candle Holder Using Cricut

This DIY Candle Holder Using Cricut was inspired by a lady that made a metal candle holder using the Big Shot Cutting Machine. At that time I did not write down her URL, because I thought I would not be able to re-create her project since I do not have a Big Shot. I remember she used a metal roof flashing. You can buy it at the hardware store. As I was playing with my Cricut Machine one day, a light bulb went off and an idea came to me..lol!. Why not make a Candle Holder using a metallic paper. I then begin cutting my flowers starting from 4", 3½" and 3".  I used the Cricut  Plantin Schoolbook Cartridge.


I then layered my cut flowers together using mini glue dots. The largest being the bottom. 


You can use the metal roof flashing if you own a big shot. I really do not know if Cricut can cut that type of metal. 


Here's what the cut flowers look like before the assembly process. A very fast and easy project. This is a cool give away gift when you are hosting a work shop or a dinner party. Give it a try and let me know how it goes.


Saturday, July 17, 2010

3D Paper Flower Tutorial Using Cricut Cutter


Probably by this time, some of you have already seen the 3D Paper Flower Tutorial using the Cricut Cutter. But if not, you can try this easy to follow steps and you will be able to create a dimensional rose flower made from cardstock paper. I love my Cricut Expression. I try my best to utilize it as much as I can because this toy is a little bit pricey. Also, I wanted to show another way to distress paper.  If you are not equipped with the distressing tool this tutorial might interest you. I do not own a Zutter distressing tool so I tried using bread knife. I know, I know,  it is dangerous. But as long as you are careful, the bread knife can  distress your edges just fine. 

I would like to thank Tina from My Paper Pantry for the original tutorial of this rose flower. 

Step by Step  3D Paper Flower Tutorial 

Supplies & Material

scissors
cardstock
distress ink/ink pad
distress tool ( you can watch the video for the new innovation distressing tool - Zutter Distrezz It -All  ) 
brad
liquid embossing/ glimmer mist ( optional)


Step By Step Instructions 


Distressing Tool Demo


Felt Flowers 


Stay tune for the Felt Flowers tutorials. It will be posted soon. For the meantime, you can join my mailing list here so you can get tutorials right in your inbox.

Tuesday, July 13, 2010

3D Chair Box Challenge


Here's my take on the 3D Chair Box Challenge. Isn't it cute and pretty? I just love it and I really enjoyed making this 3D box. You can find the details of the challenge at 3D Tuesday Group Challenge of Paper Craft Planet . This adorable 3D Chair Box can be used as a favor box for weddings and showers. You can also use this DIY Project as your cake topper as you can see in the picture below.


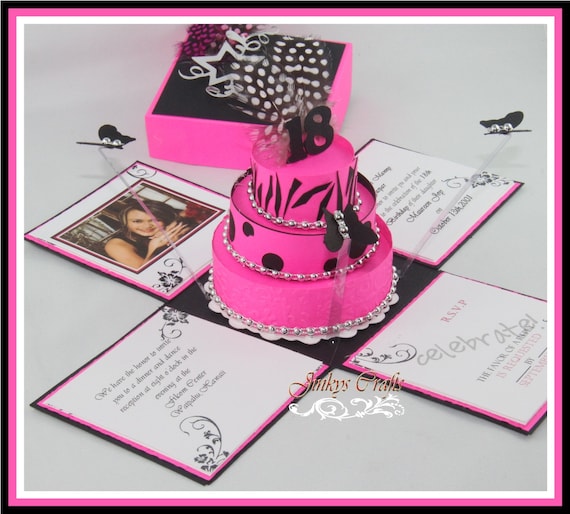
The Cake box is equally beautiful too. Don't you think? I am determine to do more cake box designs this week. When I am ready, I will post them here. For the meantime, you can join my mailing list here so you can get tutorials right in your inbox. 


I just embellished my 3D Chair Box with hand stamped flower bouquet, butterfly and May Arts Ribbon . You can also use different embellishments. There's a lot of  embellishment idea books available online. The possibilities are endless when it comes to decorating this cute 3D Chair Box.


Monday, July 12, 2010

Mini Tote Purse


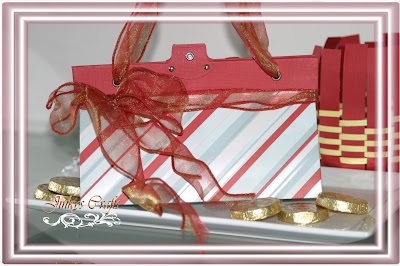
Because a girl can never have too many cute bags or purses, the idea of making a Mini Tote Purse is irresistible. It's true that having a cute purse can jazz up an outfit.  That's why when I saw the tutorial of Toni Sacrison's Mini Note Purse I went and grabbed my designer paper and made three. Yes, I really love them and when I show them to friends online they can not believe they are made out of paper. 


Yes, they look fancy but don't get intimidated because it is super easy to make. I myself was amazed to realized that I only used 1 piece of designer paper for this project. Yes, 1 piece of 12 x 12. So, ladies check out your designer paper now and make as much as you want on these cute purses. 


You can put note cards inside and give it as a gift or else, use it a tote purse for your little toys like your BB and Ipod.


Look, I even tried to imitate a Chanel Purse. You can check my Faux Alligator Skin Tutorial for the technique I used for this Chanel inspired purse.


These Mini Tote Purses are great for Bridal Shower give aways or you can even use as goodie bags on your girls birthday party. 


If you like what you see, please leave me a comment below. You can also join the mailing list to get tutorials right in your inbox

Thursday, July 8, 2010

Washer Pendant Tutorial


A few months ago, I was inspired by Recycled Art. As I was doing my research online, I stumbled upon a Washer Pendant Tutorial. At that time, I did not have a blog yet, so I was not documenting who I got the tutorial or inspiration from. Since I started blogging, I am making sure to take notes of my resources now for proper credit. For now, the credit goes to every Crafter's  online that does the Washer Pendant already.


Anyways,I tried to replicate my first Washer Pendant so I can make you guys a tutorial. This handmade jewelry is made out of Fender Washers , Yes ladies, you can run out and raid your man's tool box right now. Lol! I used the 1½ " diameter and it was perfect because I was able to use my 1½" circle punch to punch out my designer paper. For the center hole, I used the ¼"  hand puncher tool.

For my adhesive and sealer, I used the Liquid Embossing, if you do not have that, you can also use the Mod Podge.

Washer Pendant Tutorial

Supplies & Materials: 

Liquid Embossing
1½ circle punch
Fender Washers
¼ Hand Punch
Leather Bead String Cord
Designer Papers


Washer Pendant Tutorial Step By Step Instructions


 Add your string cord. Done!


Was this tutorial helpful? Anything else you would like to know? Or Recycled Art tips and ideas you want share? Please share your thoughts and leave me a comment below.


Please check out also my post regarding How to Quilt with No Sewing - No Glues ! .