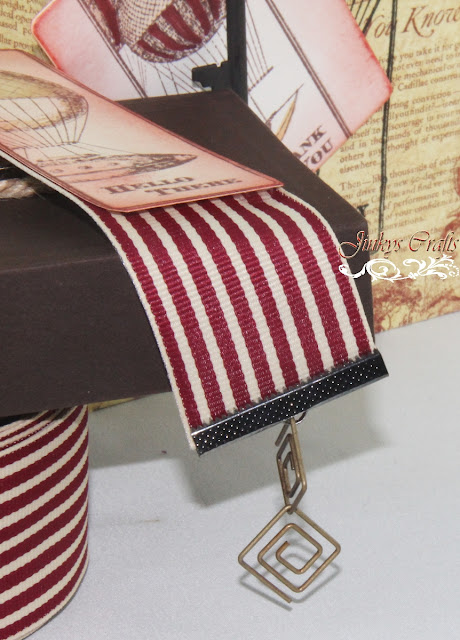
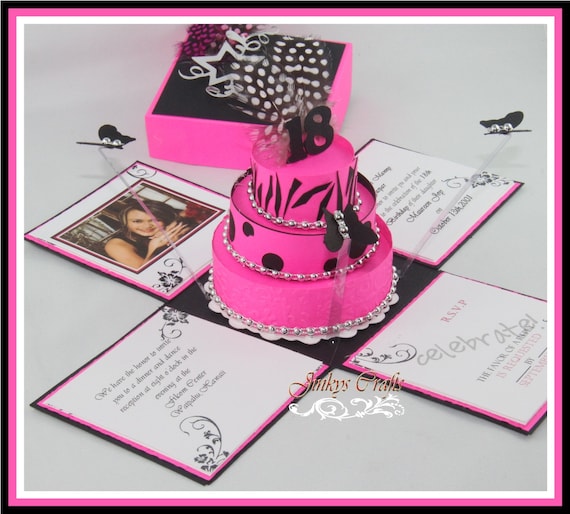
Hello everyone. I am back! Sorry that I have been MIA for the past few weeks. I have been working on my new site and I have a big Wedding Exploding Box Custom order I am trying to finished. But today, I am excited to share a few projects I made recently using the Flying Airships by Hero Arts and adorned with some MayArts Ribbons. When I received these new 2012 Hero Arts Cling Stamps, I decided to make a bag and a bookmark.
Here's how I did it:
I used each of the Hero Arts "Flying Airship" Cling Stamp sets.
For my Bag : I stamped G45 paper and heat embossed it with black embossing powder. I then created a tag to adorn my bag, I stamped my chipboard with Memento Brown and colored it with markers and distressed it with "Fired Brick" Distress Ink. I used the "A Proper Gentleman" paper stack from Graphic 45.
For my Bookmark:
I cut enough GrosGrain MayArts Ribbon and attached ribbon clasps on both ends. Also I added hardware clips as a charms. I stamped and colored a gift tag and cut the outline so it matches the width of my ribbon. I then adhered the gift tag to my Ribbon Bookmark.
This project is so easy and fast. It is a great gift set for the men in your life.
Thanks for stopping by and hope I inspired today.
Wednesday, January 25, 2012
Wednesday, January 4, 2012
Elegant Matchbox Dresser Drawers
Happy New Year everyone! I can not believe it is 2012 already, where did 2011 go!?!
Today I have a mini storage and organization project for you. Just in time for those New Year's Resolutions to get organized this year. You might have seen several versions of Matchbox Dresser Drawers already but when I received my DCWV Lemon Flowers Paperstack, I knew exactly what I was going to make.
As you can see, my Matchbox Dresser Drawers were decorated with the DCWV Lemon Flowers Paperstack. I love these paper collections, the combination of yellow and silver is very elegant. If you noticed, I also used string of bling around my dresser with the aid of Helmar Quick Dry Adhesive. I also used the Helmar Acid Free glue in adhering the DCWV paperpacks. It's my first time to use Helmar but I found it works great. It has a self-cap option. I don't know about you but I hate looking for caps once I am done using my glue.
I also used the Zapdots 3D Double Sided Adhesive for my 3D Faux Flower Bouquet.
I even made an ornament adorned with gathered MayArts ribbon. And a Kanzashi Flower Pearl Bracelet. Again, I used Helmar Quick Dry Adhesive to attach my pearls to my Kanzashi Flower. This glue is super strong and dries clear and works really good on fabric/ribbon. I used MayArts ribbon for my Kanzashi Flower.
How I did my project?
You can find the Step-by-Step PDF Tutorial for the Matchbox Dresser Drawers here.
- For the ornament: Die cut ornament shape. I used a Spellbinder die
- Die cut gathered ribbon
- Adhere ribbon to ornament using Helmar Quick Dry Adhesive
- For the 3D Flower: Cut out flower from the DCWV Lemon Flowers Paperstack
- Layer the 3D flower using the Zapdot 3D foam adhesive
- For Kanzashi Flower: Cut 2"x2" square MayArts Ribbon. Fold in Kanzashi form. My previous tutorial can be found here. For Tsumami Kanzashi Flower you can check my Etsy Shop or auto download link here.
- Glue pearls Helmar Quick Dry Adhesive
- String pearl beads. Adhere Kanzashi ribbon flower. Done!
Thanks a lot for stopping! Hope I inspire you today!
Subscribe to:
Posts (Atom)


