

Probably by this time, some of you have already seen the 3D Paper Flower Tutorial using the Cricut Cutter. But if not, you can try this easy to follow steps and you will be able to create a dimensional rose flower made from cardstock paper. I love my Cricut Expression . I try my best to utilize it as much as I can because this toy is a little bit pricey. Also, I wanted to show another way to distress paper. If you are not equipped with the distressing tool
 this tutorial might interest you. I do not own a Zutter distressing tool so I tried using bread knife. I know, I know, it is dangerous. But as long as you are careful, the bread knife can distress your edges just fine.
. I try my best to utilize it as much as I can because this toy is a little bit pricey. Also, I wanted to show another way to distress paper. If you are not equipped with the distressing tool this tutorial might interest you. I do not own a Zutter distressing tool so I tried using bread knife. I know, I know, it is dangerous. But as long as you are careful, the bread knife can distress your edges just fine. I would like to thank Tina from My Paper Pantry for the original tutorial of this rose flower.
Step by Step 3D Paper Flower Tutorial
Supplies & Material
scissors
cardstock
distress ink/ink pad
distress tool ( you can watch the video for the new innovation distressing tool - Zutter Distrezz It -All )
) Crop-A-Dile Punch
Punch
Punchbrad
liquid embossing/ glimmer mist ( optional)

Step By Step Instructions


Distressing Tool Demo

Felt Flowers

Stay tune for the Felt Flowers tutorials. It will be posted soon. For the meantime, you can join my mailing list here so you can get tutorials right in your inbox.

 for weddings and showers. You can also use this

 available online. The possibilities are endless when it comes to decorating this cute 3D Chair Box.


 for this project. Yes, 1 piece of 12 x 12. So, ladies check out your designer paper now and make as much as you want on these cute purses.

 for your little toys like your BB and Ipod.


 are great for Bridal Shower give aways or you can even use as goodie bags on your girls birthday party.

 tool.
tool. , if you do not have that, you can also use the
  .
.


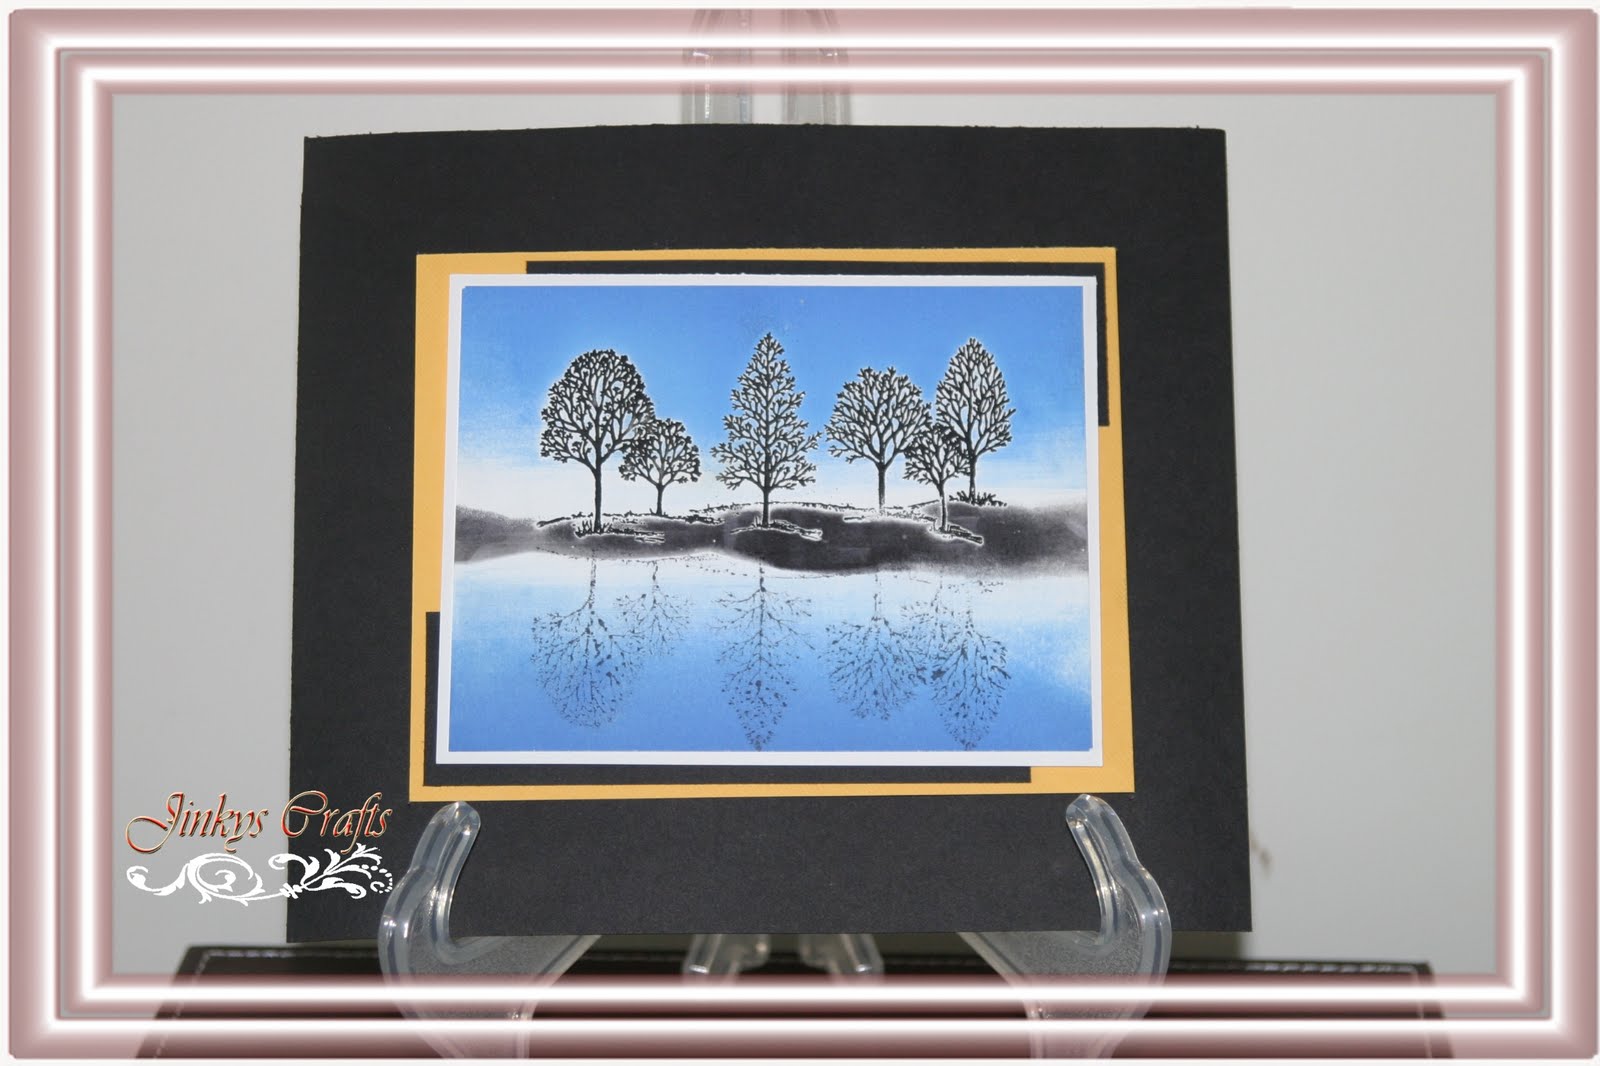
 then roll it on your cardstock or paper in one direction or roll back in forth, slowly changing the directions to blend the colors. Brayer Technique is great in creating landscapes, you can achieve this my masking off part of the card with torn paper. Color gradations will add more dimension to your project and gives a more realistic effect.





 Posts
Posts


