Showing posts with label Sewing. Show all posts

Wednesday, September 14, 2011

Fabric Flower Chocolate Bouquet - Day 3


Are You Ready to Become the Talk of All Your Friends with the Most Unique Set of Gifts They have Ever Seen?


Are you guys ready for DAY 3 of the 12 Days of Christmas Handmade Crafts. For those who follow my blog you might already know that I am learning new kind of craft. It's fabric/ribbon manipulations, that's why my blog is called Cloth, Paper Crafts and more..

Fabric Flower Chocolate  Bouquet
Fabric Flower Chocolate  Gift Set
So, those of you who are waiting for some fabric projects and want to add color that is fun and unique, and that lasts forever..this Fabric Flower Chocolate  Bouquet is perfect for you. This bunch of flowers with chocolate buds are the perfect touch to your home decor, it really looks great on an entry table or is a great center piece on your dining table.

Click Image to Enlarge
This Fabric Flower Chocolate  Bouquet also makes for a lush and classy gift to your loved ones this holiday season. It can also be used separately as party favors. Maybe you can even use some of the beautiful Christmas gift boxes that will be included on the 12 DAYS OF CHRISTMAS HANDMADE CRAFTS E-BOOK to package these fabric flowers.

The step-by-step tutorial for this Unique Holiday Gift will be available on the 12th Day of Christmas. This will be included in the 2nd Edition of the 12 Days of Handmade Christmas Crafts E-Book. You can find the first edition here: 12 Days of Handmade Christmas Crafts E-Book 


12 Days of Christmas Handmade Crafts- First Edition
Thanks a lot for stopping by. Please stay tuned for more Holiday projects to come. 

Tuesday, March 29, 2011

Framed Ribbon Spring Flowers


Finally, my project entry for the MayArts challenge is done~! I am so happy with the final outcome of this project. I am proud to present to you my Framed Ribbon Spring Flowers! Don't you just love how bright and beautiful everything looks in Springtime? I LOVE it! 

 Ribbon manipulation is new to me, but it is a new passion I have developed over the past few weeks. I love how paper and fabric complement each other. 


All ribbons used on this Challenge project were compliments of MayArts. This is my entry for their DT Call Craft Challenge, which had a theme requirement of Spring Flowers. I used the Flat Rose and Spider Web techniques for my roses. I just learned how to do these while working on this project. You can find my Spider Web Fabric Flower Tutorial here.


May Arts Ribbon Used : 

Leaves : SN48
Yellow Rose: HA27
Red Rose: HA14
Pink Rose: HA17
Brown Silk: HA33
Trim: 378-16

For those of you who know me, you probably know by now that I love 3D projects.  That is why I tried to make this in 3D. I cut some butterflies to adorn my Spring Flowers and weaved a basket which I intentionally raised to have that 3D effect.  I leave the top of the basket open so you can add some batting to poof it up or some moss (Sorry,  I don't have any handy). 


This project makes a great home decor this Spring season or a great gift for Mother's Day.  That's why I included a Happy Mother's Day sentiment cut out on the frame. 

This project is very easy. If I can do it being a newbie on ribbon folding, I bet you can to. C'mon give it a try~!

Thanks a lot for stopping by. If you like this post, please consider leaving a comment, SHARE this blog with your friends and colleagues or subscribe to my newsletter. 


Tuesday, March 15, 2011

Easter Egg Fabric Flower Bouquet


I love Spring because it is fresh and pretty. Everything is full of color and energy....even me! Today, I found my inspiration in this spring flower bouquet I saw in a magazine. And you know me, I love to challenge myself and find new creative ways to do things differently. Since we live in a high rise building and have no way to have a garden to plant flowers, I decided to create my own garden or make my own flower bouquet. This Easter Egg Fabric Flower Garden/Bouquet allows me to be inventive. It is charming and colorful- like Spring! 

Photo Source : Good Housekeeping

With some fabric scraps and little bit of sewing + the chocolates, you can create a magnificent craft or gift this Easter season. 


The flowers look so much more complicated to make than they really are.  I promise you it is super easy and fun. Check the tutorial here. 


This is a great project for a bonding moment between mother and daughter, your friends or just yourself. You can use any color or theme you want.  Get the tutorial here. 

I prepared a tutorial with step-by-step photo instructions on how to make this Fabric Flower Bouquet. You can get your tutorial here. 


To purchase the step-by-step instructions on how to make Easter Egg Fabric Flower Bouquet, click HERE. 


Thanks for looking and hope you will try this project. I will be glad to publish pictures of your finished project on my site if you like.


Tuesday, March 8, 2011

Fabric Frilly Flower Using Cricut Paper Template


Photo Source : Newsodrome

My mother-in-law showed me a Flower Frill Paper Template from a Quilt Show she recently attended. I told myself, maybe I can create a Flower Frill Paper Template too using my Cricut. So, today I experimented by making this Frilly Flower using a Cricut 8 Petal Flower Cutout. Here's how my Frilly Flower looked after my experimentation was done. 


I really like how it came out. I think it's beautiful. That's why I would love to SHARE the tutorial to my loyal subscribers and followers. 


Here, I used the Frilly Fabric Flower to adorn my Paper Cake Box. It matches my Cricut cake border perfectly.  


Here's the Cricut Recipe:

For the 8 Petal Flower Template:
Flower3-  Plain Shadow Blackout
cut at 4" 
Note: any 8 petal flower will do

For my cake box border : 

Border9  
cut at 1½" 


This beautiful fabric flower is super easy to make and can be a great brooch, necklace, hair accessory, or as an accent anywhere. Go ahead and try making some Fabric Flowers. You can email me the photos once you are done and I will be glad to feature your project here on my blog and my website. 

Thanks for looking. Please do not forget to join my first Blog Candy Contest. Click here for details. 


Monday, February 21, 2011

Handmade Fabric Flowers Slipper Clips


I got this idea for Handmade Fabric Flowers Slipper Clips in some Bridal Magazines. The magazines actually featured Bridal Shoe Clip Accessories for Wedding Shoes. I just thought it will be neat idea for house slippers too.  

From Martha Stewart Wedding

The Pink Flower was actually made out of felt. Since this is a clip on accessory, I can always change the color or style of flower I would like to use. I think that's neat!


I will be posting the tutorial on how to make this Felt Flower soon. It so happened that I could not find the file of the step-by step instructions I prepared before. So, you have to come back and check out the Felt Flower tutorial. Meantime, you can check some of my Fabric Flower tutorials here. 

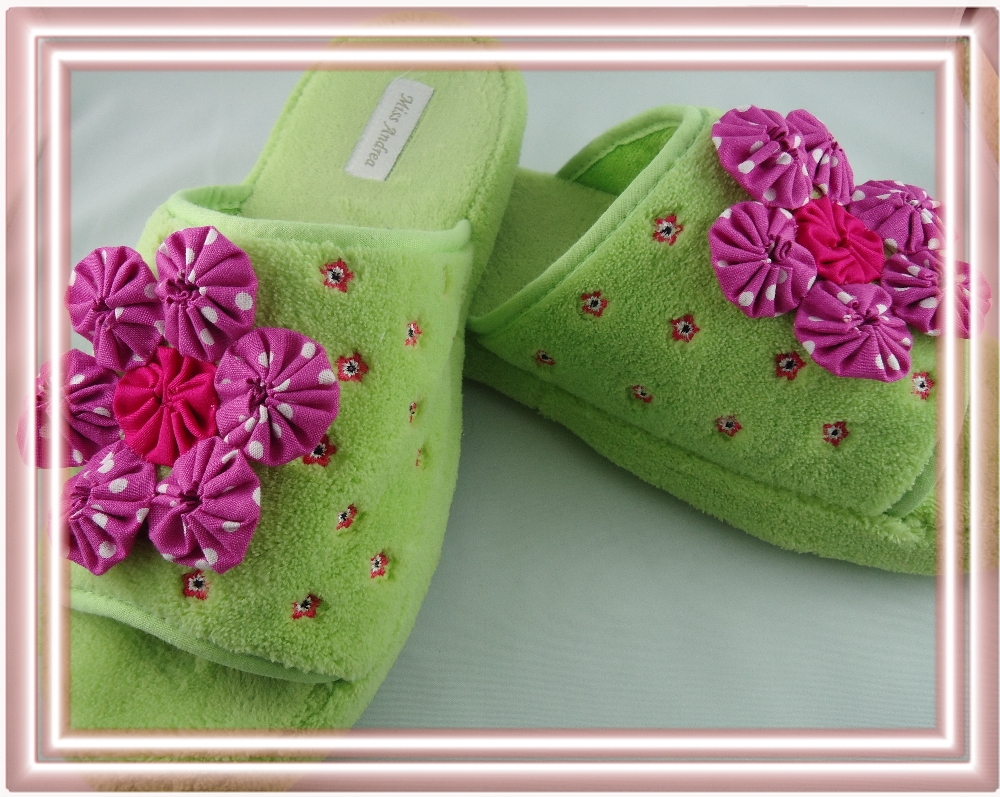
House Slipper without the Clip On Fabric Flowers

Looking at a plain house slipper is so simple and boring. But having the Fabric Flowers clips on it makes this ordinary slipper extra ordinary.


These Fabric Flowers are made out of a Yo-Yo. Please find my free tutorial on how to make this Yo-Yo flower below. 


Basic Yo-Yo Fabric Flower Instructions


click image to enlarge


Now that you know how to make a simple Fabric Flowers. Go Yo-Yo and have fun!


Saturday, February 5, 2011

Felt Handmade Cell Phone Pouch/Case


Today, for our Day 6 of the 14 Days of Handmade Valentine Crafts. I decided to sew a phone case/pouch using felt. I have never done a similar felt sewing projects before so please bear with my sewing skills. I know, I need more practice, but hey, the concept is pretty easy. With just a few pieces of a felt + needle + thread, you can make a handmade pouch/case for your phone. The good news is, it is very inexpensive craft and you can customized the design you want. 


I used the top note pattern in making this case, it is perfect for anyone with basic stitching skills like me. You can measure your phone to make sure it will fit. In this case, I used my Cricut in making the template,  I cut it at 4½"using the Accent Essentials Cricut Cartridge . Just blanket stitch the sides of 2 top note felt. This will be the body of your case. Make sure not to sew the opening side together. 


Again, with the help of my Cricut Machine, I cut my embellishment design from the Holiday Cakes Cricut Cartridge. 


Depending how fast you sew, this project can be done in less than an hour as long as you do not go crazy with the design. 


Now, you can make more designs and you can change your phone case as much as Lindsay Lohan change her hair color..lol ! 


Make sure to check the other projects of the 14 Days of Handmade Valentine Crafts and SHARE it with your crafty friends! 

Wednesday, January 19, 2011

Altered Beads Jewelry using Kanzashi Fabric Flower


Folks, I am back and I am back for good. I am so sorry for not posting after the New Year. I have been travelling and it is really so hard to sit and blog if you do not have enough time and if schedule won't permit.
From Canada to California and now to Panama, Now, that I am unpacked and not living in a suitcase anymore, I can now face my computer and my crafts and business should be as usual again. 

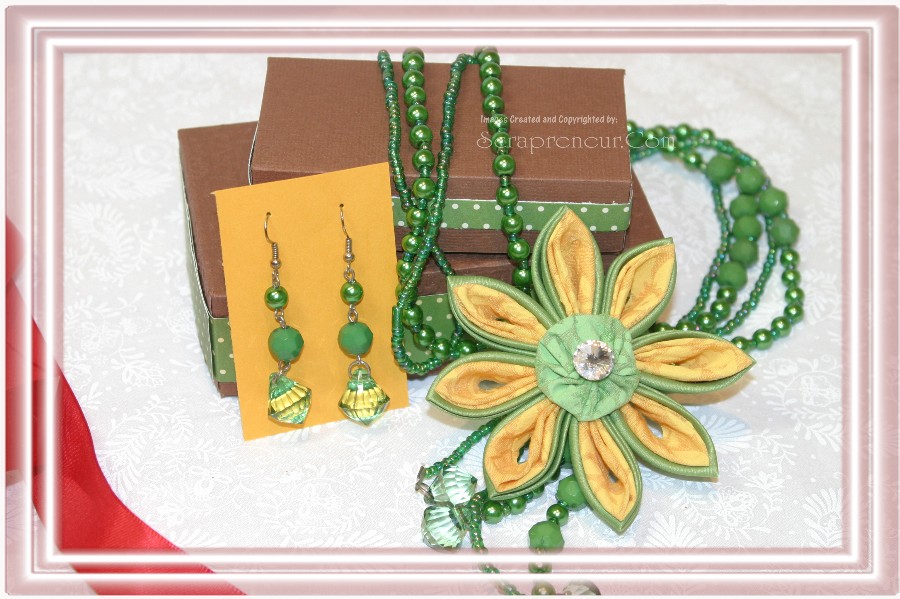
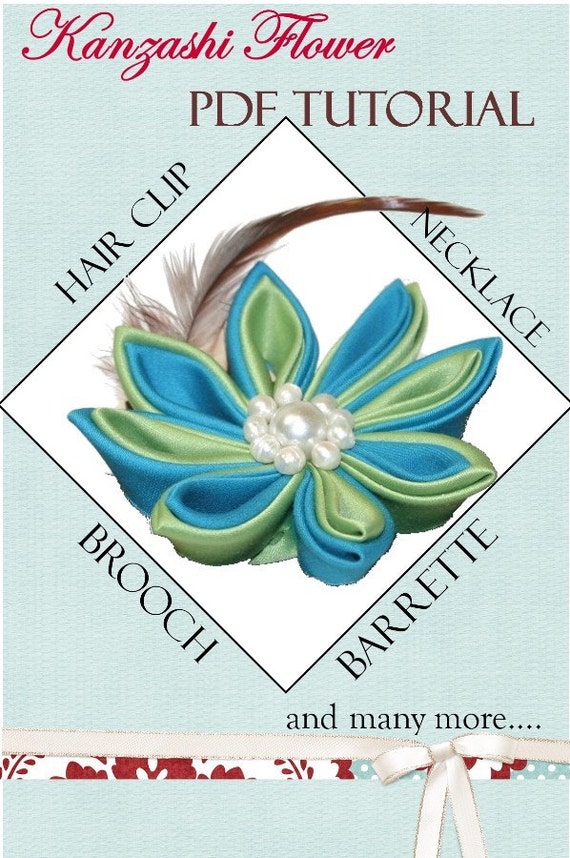
So, before I start posting theme projects, like Valentines, Weddings, Birthdays or Baptisms, I would like to share this Altered Beads project with you. I am sorry, I forgot to take the before the alteration photo. But this was just simple beads necklace and earrings before, without the flower. This was a gift I made for my niece last  Christmas. To jazz this up, I decided to add a little bling and a Tsumami Kanzashi Fabric flower as the focal point. You can do whatever fabric folding technique you want. Please check my free tutorial of the Kanzashi flower here, and the PDF tutorial for Tsumami Kanzashi Flower here. 


Please visit my Etsy Shop for the Tsumami Kanzashi Fabric Flower Tutorial


Here's a Bib Necklace I made for my Sister-In-Law last Christmas. She used it to embellish her beautiful cowboy hat. It is just perfect. Love the idea. 


If you were to suggest a project you would like me to blog about, what would that be?

So what do you think on todays post? Please tell us your thoughts on the comment section below, we love to hear from you!

Sunday, January 2, 2011

Bib Fabric Flower Necklace - Happy New Year 2011!

Happy New Year Everyone! Here's my first post for 2011.

I made my sister-in-law a Handmade Bib Fabric Necklace as a Christmas gift.  And she absolutely loved it! This was my first attempt to make handmade jewelry so I am so happy with the outcome.

The pretty and sweet color combination of fabric will definitely make a statement. The mixture of yellow, green and pink colors with different styles of fabric folding techniques makes this necklace interesting and unique. This is one of a kind design.

This is a 7" chain bib necklace and the yo yos are approximately 4" across, sewn together with the Kanzashi flower. I added some crystals as adornments. You can find my Kanzashi Flower tutorial here.


I can not wait to make another one of this  pretty Handmade Bib Fabric Flower Necklace. On my next jewelry project I will try to make the Tsumami Flower as shown on my Etsy Shop. 


Framing this Bib Necklace is a great way to present this very unique gift. 


Wishing everyone a Happy New Year filled with HAPPINESS, PROSPERITY and LUCK. 

Wednesday, August 18, 2010

Magic Quilt Kit


My dear Mother-In-Law is the only Quilter in our family. And she is really good at it. Quilting is a craft I wanted to learn someday. Honestly, I am intimidated by Quilting because it looks like it is a difficult craft and time consuming.  That's why,  when I saw the "Quilt Magic" online, I got so excited. For those who have not seen this cool Quilt Kit, I guarantee you , you will be amazed too.

How Do You Quilt With No-Sewing?

Quilt Magic is very similar to "painting by number".  With the use of revolutionary products available these days, you can now "paint by fabrics". It is creating your own quilted master piece with NO SEWING and NO GLUES needed. So how do these Quilt Magic Kit works, you ask? Well, all you need to do is tuck the fabric into the pre-cut groove on a padded Styrofoam board.


Just follow the pattern provided. Whether you are an experienced quilter or a beginner like me. This awesome Quilt Magic Kit will amaze you. It is great for all ages too.


Don't you just love the idea of making a quilt without sewing and gluing? I love quilts but I am not good in sewing. So this Quilt Magic is perfect for a beginner like me.


Learn more about Quilt Magic Quilt here.