Showing posts with label Organizer. Show all posts

Thursday, August 16, 2012

DIY Ribbon Organizer


Hello everyone! I'll bet those of you who are into Crafting have rolls and rolls of ribbons. Organizing ribbons can be of a challenge. I tried store bought ribbon organizer, but I am not satisfied because some of them are not efficient.  Not to mention super expensive.

Here's  a DIY ribbon organizer I made using a corrugated box. This is super easy to make. I covered it with fabric paper and wala! I got myself a very in-expensive ribbon organizer.


I like to see my ribbons, so when I'm designing, it's easy to know whether I have coordinating ribbons or not. It's important to think about that when buying or DIY'ing a ribbon organizer. 


I will try to share the "How To" or "Template" of my DIY Corrugated Box Ribbon Organizer next time. 

Here are some DIY ribbon organizers I found on Pinterest. You can check my Pinterest Board for more DIY inspiration projects. 

Studio Ribbon Storage


Martha Stewart


 DIY Wrapping Paper & Ribbon Organizer


Thursday, September 8, 2011

OA PICNIC CADDY


This will be at the top of the post until the release date of the E-Book
Be sure to scroll down.


Hello Everyone! I won't be posting the Day 2 of my 12 Days of Handmade Christmas Crafts today. I am still decorating my Day 2 project. Hopefully, I can post it tomorrow.

But I have a different project I would like to share, this was a project I created for my MayArts scheduled blog post.  It's a Picnic Caddy which I decorated with the October Afternoon’s Campfire product line.


When I received this October Afternoon Campfire kit, I knew exactly what I was going to do. I have made this Picnic Caddy in the past but I did not have the right designer paper back then.  So, I had to create my own plaid paper. This time, I have all the well coordinated Designer Papers, stickers, and embellishments courtesy of October Afternoon and of course May Arts Ribbons.

Ribbons used :

Leaves - BY66
Burlap String - SM10


This Picnic Caddy is so fast and easy to make. I had fun decorating this box. Please scroll down below for the step-by-step photo tutorial.


This project can also be used as your craft caddy. You can use it to store your markers, paint brushes, scissors and other craft tools you have.  As long as it will fit the box. 

PICNIC CADDY TUTORIAL

Click image to enlarge


Thanks a lot for stopping by. I hope you LIKE my projects and that I inspired you today! JINKY


Thursday, June 24, 2010

Altered Clipboard Tutorial


My husband assigned me a task which is distributing articles for his SEO For Less business. For the past few days, I got annoyed with copy paper in front of my computer so I decided to go and buy an ordinary clipboard. Well, if you are crafty, you refuse to use stuff that does not meet your artistic standards. So, I made an Altered Clipboard.

If you are wondering how I made it, it is pretty easy. Just cover your boring clipboard with designer paper, seal it, embellish it and you are DONE!


Easy, huh?  Okay, here's the low down. First, you design your layout. What is the final look of your clipboard you want to achieve. Draw your layout, then proceed and cut your papers based on the measurement of your clipboard. What I did is, I prepped the clipboard first by painting the edges with acrylic paint. Then you can cover your clipboard with Mod Podge and start attaching your papers on to the clipboard. I finished it up with another coat of Mod Podge so you can have the shiny look effect and at the same time it will protect your paper because it will act as your sealer.


Altered Clipboard Tutorial


Materials/ Supplies
Clipboard
Acrylic paint
Designer Paper
Mod Podge
Ribbon
Paint brush 
Embellishments


Step-By-Step Instructions:


1. Paint the edges of your clipboard using acrylic paint. Let it dry.


2. Apply Mod Podge all over your clipboard. This serves as your adhesive for the designer paper. 


3. Cover your clipboard with designer paper.


4. Apply a thin layer of Mod Podge on your clipboard. Let it dry. 


5. Add ribbons as an accent and finish your clipboard with some embellishments. 


6. I used some 3D flowers from Prima Flowers and Cricut Cut outs. I used my Cricut Expression in making the "notes" chipboard text and "J" monogram. I used color markers to color it  and applied embossing liquid for a more polish look. 


Prima Florals - Buy Now!

Tuesday, June 22, 2010

Picnic Caddy Tutorial

I stumbled on this Picnic Caddy Tutorial one day and I told myself I had to make one for myself. It is so cute and so versatile. I don't have the Ants In a Row Rubber Stamps so I used the butterfly stamps instead. Yes, this project is a Paper Craft but it is sturdy and functional. Just make sure to use the right kind of paper when you do the project.

This Picnic Caddy is great for July 4th barbecue party or you can always make different theme like birthdays, tea parties you name it. Just be creative. You can embellish your caddy with Picnic cardstock stickers or Tea Party theme.


You will find the step by step Picnic Caddy Tutorial  on Clearly I Stamp blog . It is very easy to follow instructions. Just make sure you have the necessary materials and tools like the following;


> scissors
> Paper cutter
> oval punch
> marker
> Cardstock
> adhesive

Give this a try and please let me know how it goes. I would love to see your Caddy Projects. 


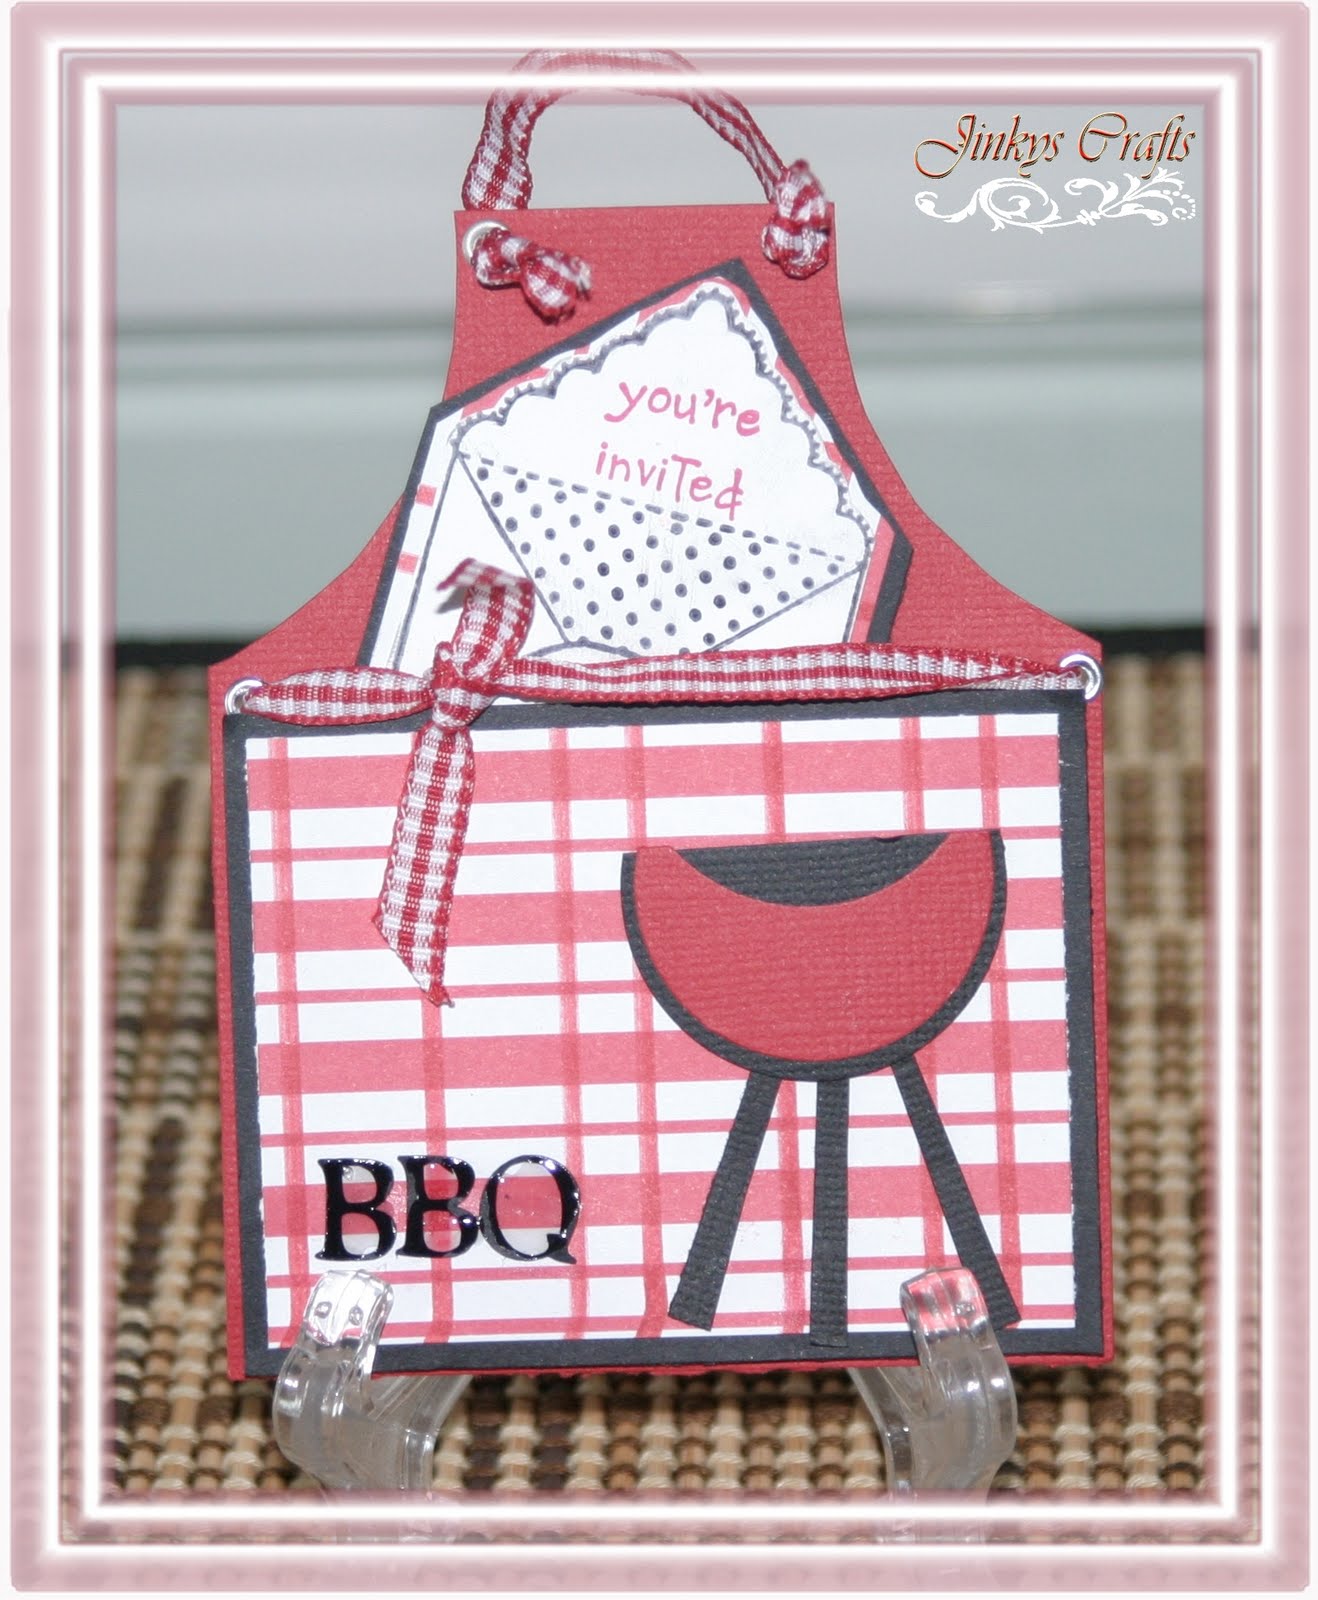
BBQ Apron Tutorial 


Stay tune for the bookmark tutorial. If you like this post, please leave me a comment below. Thank you and come back soon!


Organize-It - Your Storage & Organization Resource

Thursday, June 17, 2010

Father's Day Wallet ( Mens Wallet)

Do you have already a Father's Day gift? If you are looking for easy and economical craft project for Father's Day. Here is a great gift and easy craft for you. A Father's Day wallet.


I first saw this tutorial at Danniesdesigns. So, I gave it a try today. This is super fast and super easy. I finished the project in less than 15 minutes. 


The Dimensions: 


9" x 3½"  scored at 4-7/16" and 4-9/16" (outer piece)
 8½" x 3¼"  scored at 4¼" (Inside piece)
2 pieces of 4-3/16" x 2" (Larger pocket)
2 pieces of  4-3/16" x 1"  (Smaller pocket)


Materials: 


Versamark Ink
Cardstock
Gel Marker
Black Embossing Powder
Happy Father's Day Stamp
Sticky Strip
Corner Rounder  Punch
Piercing Tool
Embossing Heat Tool


Directions:
Let's start where every pieces of your cardstock has been cut and scored.
  • Punch corner of your outer piece using the corner rounder punch.
  • Pierce the side and create a faux stitch using a gel black marker. 
  • Stamp the front panel using the Happy Father's Stamp and Versamark Ink Pad. 
  • Pour embossing powder and heat emboss with  heat gun.Set aside.
  • Assemble inside piece. Put sticky strips on all the sides except the top side, this will be the opening of your inserts).
  • Adhere your inside piece to the outer piece. DONE! 


          Thursday, June 10, 2010

          Card/Mini-Magazine File Holders


          Here's another neat DIY project for you. These sophisticated Card/ Mini-Magazine File Holders store your greeting cards or your mini-magazines in style. I really love the color combinations and the total outcome of this project. I tried to make it clean and not overly decorated. You can give this as Father's Day Gift, Birthday Gift or simply for your own use. Whatever the occasion maybe, these holders will definitely brighten up your home or office.


          So, how did I did this?? Well, I made these holders using the "Filed with Flair template" by PAPERTREYink. I opt to use different colors to coordinate the paintings hanging in our wall. I attached 3 holders together using a double-sided adhesive tape. I made a Home cut-out from my Cricut Expression using the Home Accent Cartridge. I used a glue pen to adhere the letters. I then finished the look with a butterfly and crystal embellishments. 


          Organize your space with STYLE and have fun doing this project. 


          These wall paintings are my inspiration for the colors I used in this project.