Showing posts with label Altered Items. Show all posts

Thursday, May 5, 2011

Altered Clipboard & Easel Card w/ Paint Fusion

Congratulations to Amber S for winning my Crafter's Companion Blog Candy last month. Please provide me your complete name and snail mail address so I can send out your prize. Thanks! 


Hello everyone! It's the first Thursday of the month and I have some very exciting news to share with you. This is my scheduled post for Crafter's Companion blog and I am very excited to let you know that the most awaited Paint Fusion products by Sheena Douglas are now available on the Crafter's Companion USA site!


The Paint Fusion products include:
  • Rubber stamps - Simply Sweet, Berries, Daisies, Rosebud, Sweet Pea and Poppies
  • Laminated practice sheet + four page inspirational samples inserts
  • Paint Fusion DVD - over 3 hours long of step-by-step instructions to help you get started
  • Die-cut mount board shapes
  • Acrylic paint sets
  • High quality Royal and Langnickel Paint Brushes
It does not matter if you are a beginner, intermediate or advanced crafter, the Paint Fusion technique will help you achieve a stunning result.


Honestly, I am a newbie to painting. I was terrified at first, but after watching the Paint Fusion DVD,  I finally developed the courage to try. The practice sheets + the rubber stamps + the step-by-step tutorials on the DVD helped me to get started. Sheena Douglas made everything look so simple and achievable.
 

For my first two Paint Projects, I made an altered clipboard and Easel Card for Mother's Day. I used the Sweet Pea Stamps and Crackle technique for my background.

Mother's Day Easel Card with Paint Fusion

Altered Clipboard with Paint Fusion

I also gold embossed some swirl from the Sweet Pea Stamp set and painted a flower bud on vellum to create a 3D- effect on my Paint Fusion project. I love how it all came together. 


I can not believe I was able to create this piece of art considering I have never painted before. Give this a try and I know you will be painting like a pro in no time.

Wednesday, January 19, 2011

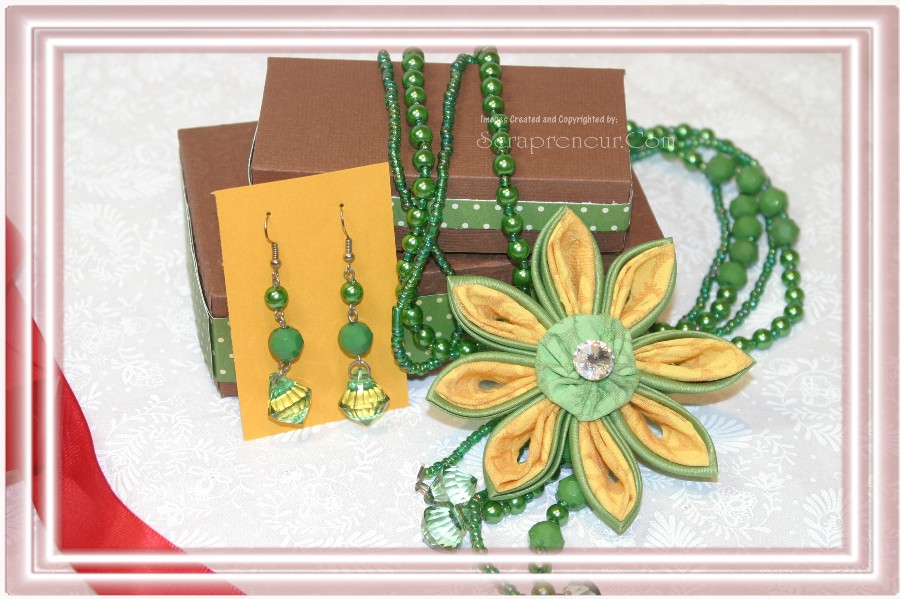
Altered Beads Jewelry using Kanzashi Fabric Flower


Folks, I am back and I am back for good. I am so sorry for not posting after the New Year. I have been travelling and it is really so hard to sit and blog if you do not have enough time and if schedule won't permit.
From Canada to California and now to Panama, Now, that I am unpacked and not living in a suitcase anymore, I can now face my computer and my crafts and business should be as usual again. 

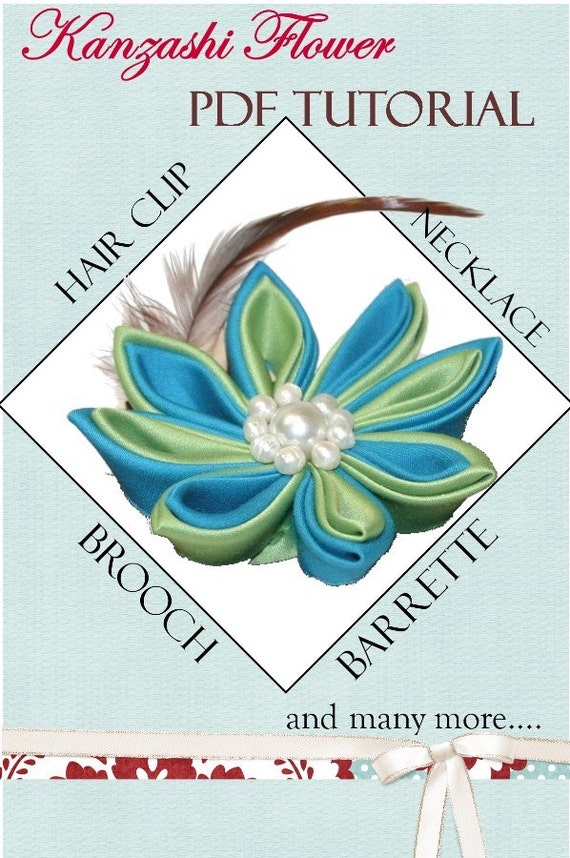
So, before I start posting theme projects, like Valentines, Weddings, Birthdays or Baptisms, I would like to share this Altered Beads project with you. I am sorry, I forgot to take the before the alteration photo. But this was just simple beads necklace and earrings before, without the flower. This was a gift I made for my niece last  Christmas. To jazz this up, I decided to add a little bling and a Tsumami Kanzashi Fabric flower as the focal point. You can do whatever fabric folding technique you want. Please check my free tutorial of the Kanzashi flower here, and the PDF tutorial for Tsumami Kanzashi Flower here. 


Please visit my Etsy Shop for the Tsumami Kanzashi Fabric Flower Tutorial


Here's a Bib Necklace I made for my Sister-In-Law last Christmas. She used it to embellish her beautiful cowboy hat. It is just perfect. Love the idea. 


If you were to suggest a project you would like me to blog about, what would that be?

So what do you think on todays post? Please tell us your thoughts on the comment section below, we love to hear from you!

Thursday, June 24, 2010

Altered Clipboard Tutorial


My husband assigned me a task which is distributing articles for his SEO For Less business. For the past few days, I got annoyed with copy paper in front of my computer so I decided to go and buy an ordinary clipboard. Well, if you are crafty, you refuse to use stuff that does not meet your artistic standards. So, I made an Altered Clipboard.

If you are wondering how I made it, it is pretty easy. Just cover your boring clipboard with designer paper, seal it, embellish it and you are DONE!


Easy, huh?  Okay, here's the low down. First, you design your layout. What is the final look of your clipboard you want to achieve. Draw your layout, then proceed and cut your papers based on the measurement of your clipboard. What I did is, I prepped the clipboard first by painting the edges with acrylic paint. Then you can cover your clipboard with Mod Podge and start attaching your papers on to the clipboard. I finished it up with another coat of Mod Podge so you can have the shiny look effect and at the same time it will protect your paper because it will act as your sealer.


Altered Clipboard Tutorial


Materials/ Supplies
Clipboard
Acrylic paint
Designer Paper
Mod Podge
Ribbon
Paint brush 
Embellishments


Step-By-Step Instructions:


1. Paint the edges of your clipboard using acrylic paint. Let it dry.


2. Apply Mod Podge all over your clipboard. This serves as your adhesive for the designer paper. 


3. Cover your clipboard with designer paper.


4. Apply a thin layer of Mod Podge on your clipboard. Let it dry. 


5. Add ribbons as an accent and finish your clipboard with some embellishments. 


6. I used some 3D flowers from Prima Flowers and Cricut Cut outs. I used my Cricut Expression in making the "notes" chipboard text and "J" monogram. I used color markers to color it  and applied embossing liquid for a more polish look. 


Prima Florals - Buy Now!