

The Brayer Technique is totally out of my comfort zone. I have had the Rubber Roller Brayer for a long time but have not tried using it until now. I finally had the courage to just go for it. So here is my first finished project using the Brayer Technique. In this project, Reflection/Mirrored Effect Technique was also used.
For those that do not know what a brayer is, a Brayer is a tool that is used in applying ink. It looks like a miniature paint roller and is very popular in rubber stamping.
It is normally used in creating backgrounds. You can create a solid background if you ink the brayer with one color or create a multicolored background by using more than one color.
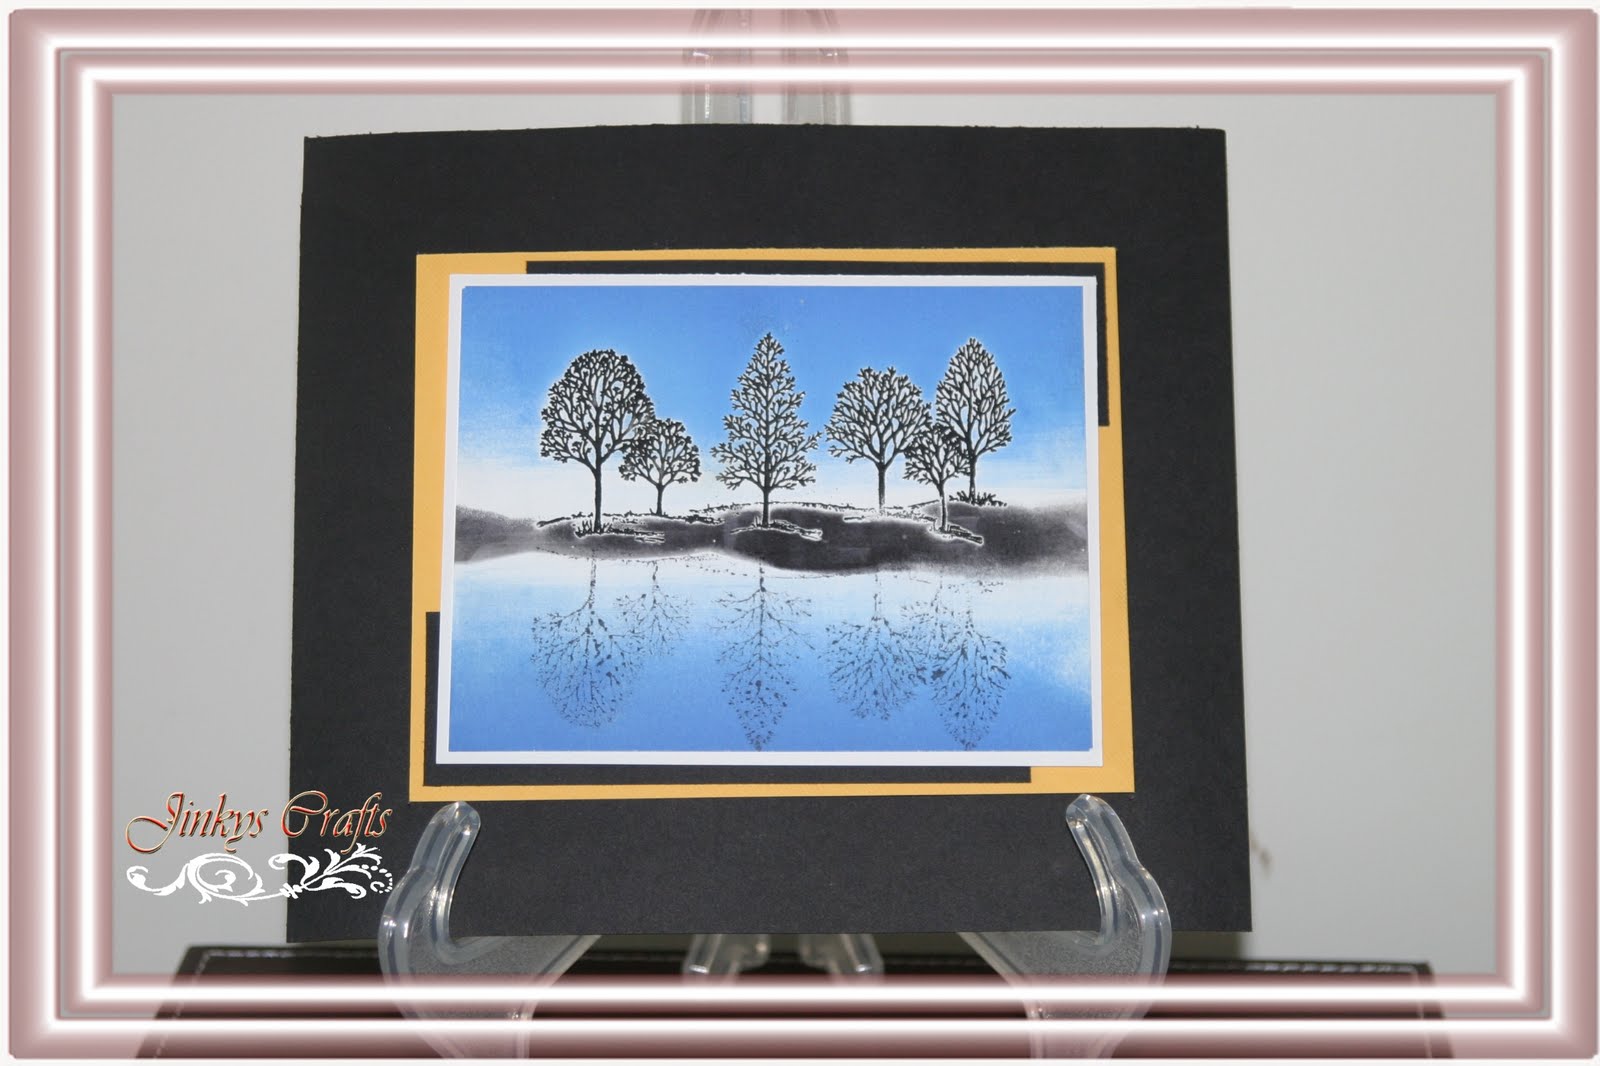
How To Use A Brayer
Supplies/Materials:
Rubber Stamps

cardstock
ink pad
rubber brayer
Directions:
Apply ink to your Rubber Roller
 then roll it on your cardstock or paper in one direction or roll back in forth, slowly changing the directions to blend the colors. Brayer Technique is great in creating landscapes, you can achieve this my masking off part of the card with torn paper. Color gradations will add more dimension to your project and gives a more realistic effect.
TIPS: Store your brayer rubber side upright in an airtight, plastic storage container.

Happy 4th of July
 . I used the Plantin SchoolBook Cartridge. And applied the Brayer Technique in creating the background.
Please leave me a comment below if you like what you see. I want to know what you think.
Related Video


 in cutting the butterflies. Then cut another different size of butterflies and layered them together to create a 3D effect.

 , brads and ribbons to embellish the card.
 . I traced the butterfly and simply use scissor to cut the foam. I then applied thin glue( I used
  ) at the edge of the 2nd layer butterfly and poured some
  .
. 


 and start attaching your papers on to the clipboard. I finished it up with another coat of Mod Podge


 and Cricut Cut outs. I used my
  to color it and applied
  for a more polish look.
 so I used the
  s instead. Yes, this project is a Paper Craft but it is sturdy and functional. Just make sure to use the right kind of paper when you do the project.
 or
or  theme.




 Posts
Posts


