Showing posts with label Envelobox. Show all posts

Wednesday, July 6, 2011

Sunflower Theme Wedding Invitations

Japanese Style Box + Bi-Fold Sunflower Wedding Invitations
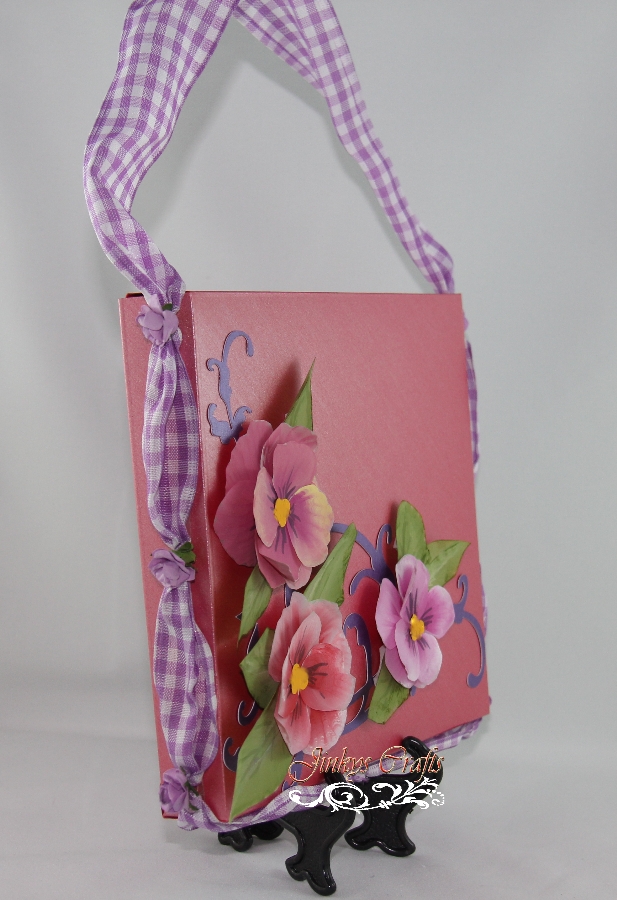
Happy Thursday Everyone! One more day, before the latest Paint Fusion launch. Today, I am excited to share with you a project I made using the Sheena Douglas Paint Fusion Sunflower Stamps set. Since it is summer time and everyone is enjoying the season, it inspired me to create this Handmade Sunflower Theme Wedding Invitation. Sunflower Theme Invitations radiate sunshine and happiness and nothing brings cheer and joy more than a Sunflower. 
Japanese Box - Open
Bi-Fold Sunflower Invitation- Closed
I had loads of fun creating this Bi-fold Wedding Invitation and Japanese Style Box. The main invitation, containing the important information (Wedding Date, Place, Bride and Groom, etc) is placed at the center. The Directions/Maps + RSVP + Reception cards are placed on the side panel or pocket.
Pocket - Fold Wedding Invitation - Open
I created a paper belly band to keep the Bi-Fold invitation card closed and a ribbon belly band to keep the box closed. My pocket fold invitation and Japanese Style box were decorated with coordinating ribbons and Sunflowers cut-out that I hand-painted using the Sheena Douglas Paint Fusion Sunflower Stamps set. I then layered my Sunflower Cut-out using the Double Adhesive Sided Foam Squares to get the 3D effect I want. To achieve a perfect folds and clean lines for my Japanese Style Box and Pocket-Fold Card, I used The Boxer & Envelobox Creator  Ultimate Tool
Japanese Style Box- Closed
Sunflower Event theme makes a bold statement. You can use this idea in making your birthday invitations, Quinceanera or Sweet 16th invites, the possibilities  are endless. Suggest this idea to a friend or family. It's fun and easy to make. 
Thanks a lot for stopping by. I hope you like my projects and that I inspired you today! 


Thursday, June 16, 2011

Window Card + Envelobox Hand Bag + Vellum 3D Flowers Tutorial


Hello everyone!  I am back with another 3D project. Today, I will be sharing not one but three projects. So brace yourself, I am warning you - there are lots of photos! You better grab a cup of coffee. LOL! Yes, today I will be sharing with you the Humphrey Window Card + the Envelobox Hand Bag + a Painted Vellum 3D Flower Tutorial.

Yes Friends, The Humphrey's are coming to Crafter's Companion USA! These cute little elephant  stamp sets are sooo darn cute! I forgot how much I love stamping! I used the "Flowers For You" on my Window Card, where Humphrey is carrying a huge bouquet of flowers. I just love it! This new set of stamps will be available on June 23rd on the Crafter's Companion website. Make sure not to miss the launch date!


I created the perfect casing for this beautiful Humphrey Window Card. I used my new Envelobox Creator Board to create the Envelobox Hand Bag. This is 1" deep and it is the perfect depth for my 3D Card. I used 11¾" x 11¾" cardstock here. You can certainly go deeper than 1", just use a larger size of cardstock. You can download the Envelobox Creator Sizing Guide here and the demo video here.


I attached a ribbon to serve as the handle around my Envelobox Hand Bag. I hand painted Pansy Flowers on a Vellum Paper using the latest Sheena Douglas Paint Fusion stamp set and these are used to adorn my Envelobox Hand Bag. You can scroll down below for the Painted Vellum 3D Flower Tutorial.


The new Sheena Paint Fusion stamps will be available at Crafter's Companion website on June 30th. Also, stay tuned for the Sneak Peek of these Stamp sets. These stamps will make a great addition to your collection. 


If you use a stylus or round object to shape your flower petals, it will give that extra dimension which makes your flower looks more realistic. I do not have a wide round stylus so I used the ribbon peg of the Ultimate Pro. It works great!


Since I was working with Vellum, I used the Collall 3D Kit for building up my flowers. This is a transparent silicone glue that dries as thick as it is applied, which makes it ideal for 3-dimensional creations.


Painted Vellum 3D Flower Tutorial 
Click Image to enlarge.


Thanks a lot for stopping by. I hope you like my projects and that I inspired you today!  -  Jinky